
 English
 中文简体
中文简体

In the ever-evolving world of home design, the quest for efficient space utilization has led to the invention of innovative storage solutions. Two such products that have risen to prominence are foldable wall-mounted shelves and bathroom organizers with sundries storage racks. These items not only solve the problem of clutter but also add a touch of modernity and functionality to any home. This essay will explore the benefits, applications, and installation processes of these two space-saving solutions.
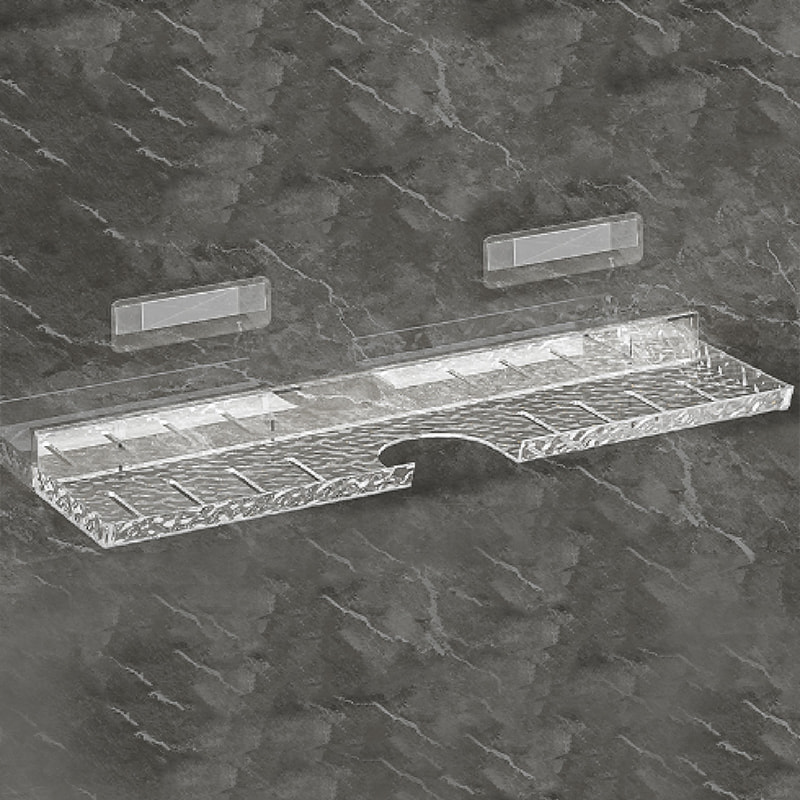
Foldable wall-mounted shelves are a practical addition to any home, offering a versatile and space-saving storage solution. These shelves can be easily folded up when not in use, thus conserving space and maintaining a clean look.
Benefits of Foldable Wall-Mounted Shelves:
1. Space-Saving: The primary advantage of foldable shelves is their ability to maximize space. They can be folded away when not needed, making them ideal for small homes or apartments where every inch counts.
2. Versatility: These shelves can be used in various rooms, from the kitchen to the living room, providing storage for books, decorations, or even kitchenware.
3. Aesthetic Appeal: With a wide range of designs and materials available, foldable shelves can complement any home's decor, adding both function and style.
4. Easy Installation: Many models come with simple installation instructions, allowing homeowners to mount them without professional help.
Applications of Foldable Wall-Mounted Shelves:
1. Kitchen: In a kitchen, foldable shelves can hold spices, cookbooks, or small appliances, keeping countertops clear and organized.
2. Living Room: They can be used to display decorative items, books, or media components, providing a tidy and organized look.
3. Office: For those with limited office space, foldable shelves can store office supplies or documents neatly when not in use.
Installation Process:
1. Choose the Right Location: Find a wall that can support the weight of the items you plan to store and is sturdy enough for the shelf.
2. Mark the Spot: Use a level to mark the spots where the brackets will be mounted.
3. Drill the Holes: Carefully drill holes at the marked spots, ensuring they are deep enough for the screws.
4. Attach the Brackets: Secure the brackets to the wall using the provided screws.
5. Mount the Shelves: Finally, attach the shelves to the brackets, ensuring they are level and secure.
Bathroom organizers with sundries storage racks are specifically designed to keep bathrooms tidy and organized. They offer multiple compartments for storing toiletries, towels, and other bathroom essentials.
Benefits of Bathroom Organizers with Sundries Storage Racks:
1. Organization: These organizers help keep towels, and other items neatly arranged, making mornings less chaotic.
2. Space Optimization: They make use of vertical space, which is often underutilized in bathrooms.
3. Hygiene: By keeping items off the floor, these organizers reduce the risk of water damage and mold growth.
4. Customization: Many models come with adjustable shelves, allowing users to customize the storage space according to their needs.
Applications of Bathroom Organizers with Sundries Storage Racks:
1. Shower Area: They can be mounted near the shower to store shampoo, conditioner, and soap, keeping these items within easy reach.
2. Vanity Area: Above the sink, these organizers can hold toothbrushes, toothpaste, and other grooming items.
3. Toilet Area: They can be used to store extra toilet paper, magazines, or cleaning supplies.
Installation Process:
1. Selection: Choose an organizer that fits your bathroom's decor and has enough compartments for your needs.
2. Wall Preparation: Clean the wall area where the organizer will be mounted, ensuring it is free of dust and debris.
3. Positioning: Place the organizer on the wall and mark the screw holes using a pencil.
4. Drilling: Drill holes at the marked spots, being careful not to hit any pipes or wires behind the wall.
5. Mounting: Attach the organizer to the wall using the provided screws, ensuring it is securely fastened.


 Phone
Phone
 Email
Email